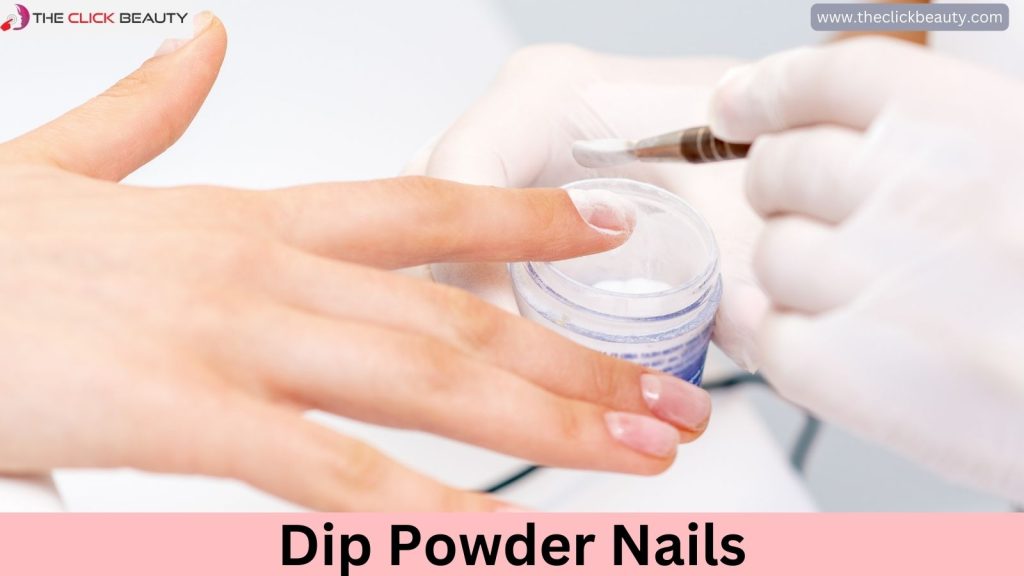
Have you ever experienced difficulty in selecting a striking nail color? Trying out the same old colors similar to everyone else’s nails can get pretty boring. Instead, let your inner creativity shine by embracing a style of bold and unique shades.
Indie nail colors provide a way for you to express yourself while spicing up your manicure game! Here are some of our favorite indie shades to help make your mani stand out.
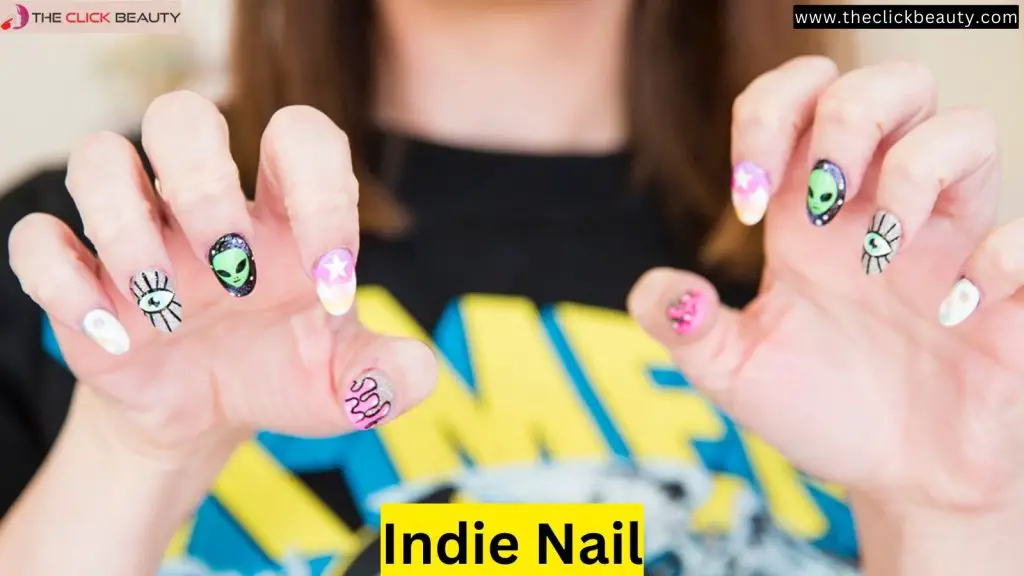
Indie nail art
Indie nail art is becoming more and more popular. A DIY trend, indie nail art focuses on creating intricate designs and mixing bold colors and shapes, all while making a statement.
From bright florals to psychedelic swirls, the possibilities are endless when it comes to adding an extra touch of flair!
Additionally, with an abundance of tools and materials easily accessible, you can effortlessly attain your desired appearance without stepping out of your house.
Trendy indie nail designs and colors
1. Blended Neutrals
One of the hottest trends in nails right now is blended neutrals. This look is achieved by combining two or more neutral colors to create a unique and trendy nail design.
To get this look, apply a light base color to your nails. Once the base colour has dried, achieve a gradient effect on your nails by applying a darker shade to the tips. Finish off the look by applying a top coat for extra shine and protection.
2. Matte Finish
Another popular trend in nails right now is a matte finish. To achieve this appearance, you can apply a matte top coat or purchase nail polish with a pre-existing matte finish.
Matte nails have a velvety texture and tend to be less shiny than traditional glossy nails. This trend is a great fit for those seeking to enhance the uniqueness of their nails without going overboard.
3. Glitter Accents
If you’re looking for a way to add some sparkle to your nails, then consider adding glitter accents. This trend can be achieved by using glitter nail polish or by applying loose glitter to your nails with a top coat.
Glitter accents are ideal for any special event or simply when you desire your nails to be distinctive.
4. Bold Colors
Bold colors are also trending in the world of indie nails. If you’re tired of traditional nude and neutral shades, then consider trying out a bolder hue, such as electric blue or hot pink.
Bold colors are perfect for making a statement and can help brighten up your complexion.
Tips on how to create your unique nail art look
- Start with a clean canvas. Ensure that your nails are devoid of any polish or oil and are thoroughly clean prior to commencing your design.
- Decide on your colors. Select the desired range of 3-5 colors to incorporate into your design. Try to pick colors that complement each other.
- Choose your tools. You will need a few basic tools to create your design, such as a base coat, top coat, nail polish remover, cotton balls, and Q-tips.
- Begin with a base coat. Safeguard your nails from the polish and prolong the lifespan of your design by applying a base coat.
- Paint your nails with the first color. Apply the first color of polish to your nails in even strokes. Wait until the color is fully dried before advancing to the subsequent step.
- Add the second color. Use smooth strokes to apply the second polish color to your nails, ensuring there is a gap between the first and second colors. Wait until the color is fully dried before advancing to the subsequent step.
- Add the third color. Apply the third color of polish to your nails in even strokes, leaving some space between the second and third colours. Wait until the color is fully dried before advancing to the subsequent step.
- Seal your design with a top coat. Safeguard your design and prolong its lifespan by applying a comprehensive layer of polish as a top coat.
Different techniques for creating interesting designs, such as stamping, water marbling, and ombre effects
1. Stamping
One popular technique for creating interesting designs is stamping. Stamping involves using a rubber or metal stamp to transfer a design onto fabric.
This technique can create various patterns, including flowers, geometric shapes, and words or phrases.
2. Watercolor
Another popular technique for creating interesting designs is watercolor. Watercolor involves painting with diluted pigment on fabric. This technique can create various effects, including gradient colors, ombré, and tie-dye.
3. Screen printing
Screen printing is another popular technique for creating interesting designs. Screen printing involves applying ink or paint onto the fabric using a stencil.
This technique can create various designs, including logos, graphics, and photographs.
4. Embroidery
Embroidery is another popular technique for creating interesting designs. Embroidery involves stitching designs onto fabric using a needle and thread.
This approach can achieve diverse outcomes like 3D textures, appliqués, and even quilting.
5. Heat transfer
Heat transfer is another popular technique for creating interesting designs. Heat transfer involves using heat to transfer an image onto fabric.
This technique can create various effects, including reverse, distressing, and watermark-like images.
6. Dyeing
Dyeing is another popular technique for creating interesting designs. Dyeing involves using dyes to color fabric. This technique can create various effects, including gradient colors, ombre, and tie-dye.
7. Painting
Painting is another popular technique for creating interesting designs. Painting involves applying paint directly onto fabric. This technique can create various effects, including gradient colors, ombre, and tie-dye.
Ways to store and protect your nails after painting them with polish
- Let your nails dry completely before applying a top coat.
- Apply a thin layer of top coat, and let it dry completely.
- Apply a second layer of top coat, and let it dry completely.
- Apply a third layer of top coat, and let it dry completely.
- When you’re finished applying the top coat, wait a few minutes for it to set before doing anything else with your hands.
- Massage cuticle oil into your nails once they are completely dry.
- Apply hand cream to your hands and massage them in.
- Slip-on cotton gloves and carry on with your usual activities.
- When you’re ready to remove the polish, soak your nails in warm water for a few minutes first to help loosen the polish.
- Use a cotton ball, or Q-tip soaked in nail polish remover to remove the polish from your nails.